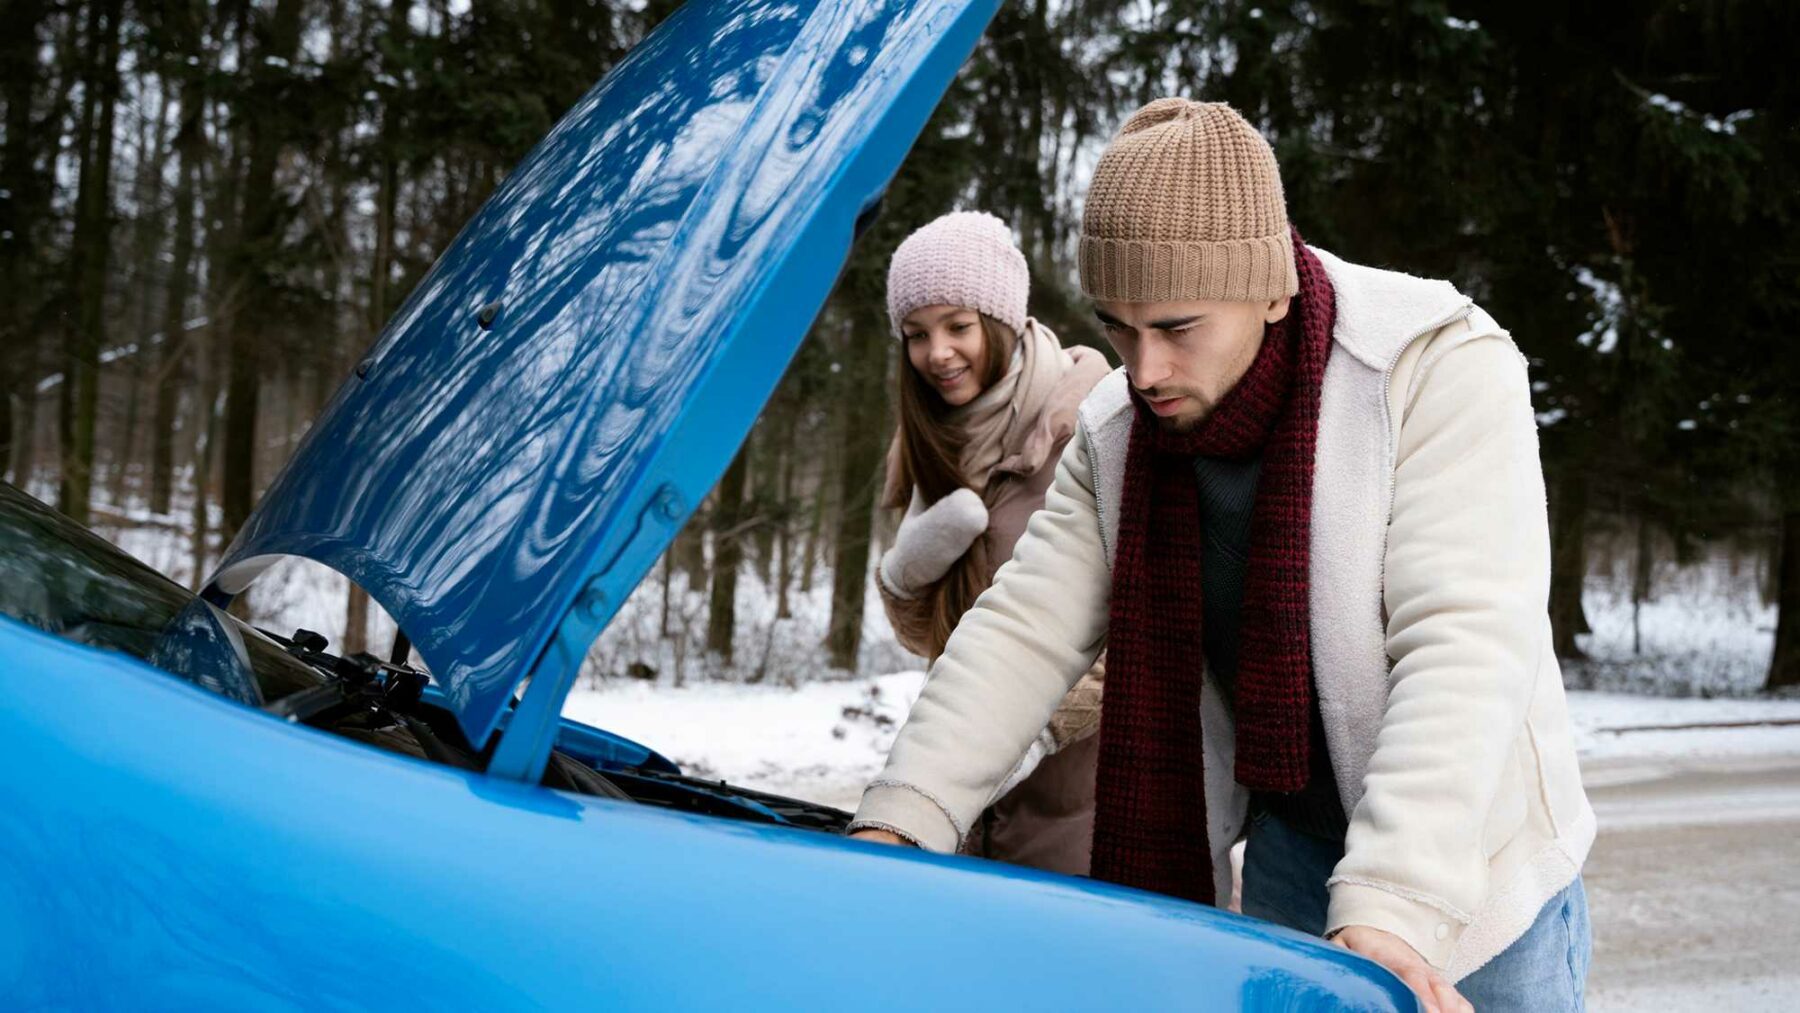
Your Guide on How to Use Jumper Cables in Winter Emergencies


Winter can be brutal, especially when your car won’t start on a freezing morning. Learning how to use jumper cables can turn a stressful moment into a quick fix. It’s a simple yet essential skill for every driver.
Cold weather takes a toll on your car battery. Even the best car battery jump starter might need backup knowledge of jump start cables to work effectively. Let’s get into the key steps for using jumper cables and staying prepared this winter.
How to Use Jumper Cables
Understanding how to use jumper cables is crucial during winter. The frigid temperatures can weaken your car battery, making it more prone to failure. Equipping yourself with jump start cables and knowing the proper steps ensures you’re ready to handle these situations safely.
In addition to having a car battery jump starter, jumper cables remain a reliable solution. Let’s walk through how to use them correctly and discuss the essential safety tips you need to know.
- When Jumping a Car, Which Cable Goes on First?
The red cable, or positive cable, is always connected first when jump-starting a car. This ensures a secure and safe connection, reducing the risk of damage to the battery or electrical system.
Establishing the correct order of connections is crucial for transferring power safely between the two batteries. The steps for connecting and removing the jumper cables will be outlined in detail in the following sections. Properly following these instructions will help avoid sparks and ensure a successful jump-start.
- Jump-Starting a Car in Winter
Jump-starting a car in the winter requires a bit of extra caution due to icy surfaces and freezing temperatures. Here’s a straightforward guide to ensure safety and efficiency.
- Move the working car as close as possible to the dead car without letting the vehicles touch.
- Turn off both vehicles and ensure they’re in park or neutral with the parking brake engaged.
- Locate and clean the battery terminals if they’re corroded or dirty.
- Connect the Red Cable to the Dead Battery: Begin by attaching one end of the red jumper cable to the positive terminal of the drained battery.
- Connect the Red Cable to the Working Battery: Fasten the red jumper cable’s other end to the positive terminal of the operational battery.
- Attach the Black Cable to the Working Battery: Connect one end of the black jumper cable to the negative terminal of the battery in the functioning vehicle.
- Ground the Black Cable on the Dead Car: Secure the black jumper cable’s other end to a bare metal surface on the engine block or frame of the non-working vehicle.
- Start the car with the good battery and let it run for a few minutes.
- Attempt to start the dead car; it may take several tries in extreme cold.
- If the car doesn’t start after a few attempts, you may need a car battery jump starter or professional jump start service.
- Remove the Black Cable from the Grounded Surface: Start by disconnecting the black jumper cable from the unpainted metal part of the revived vehicle.
- Detach the Black Cable from the Working Battery: Next, remove the black cable from the negative terminal of the battery in the functioning vehicle.
- Disconnect the Red Cable from the Working Battery: Carefully unclip the red jumper cable from the positive terminal of the charged battery.
- Remove the Red Cable from the Revived Battery: Finally, detach the red cable from the positive terminal of the battery in the previously dead vehicle.
When Using Jumper Cables, Which Color Is Positive?
The red cable is always positive when using jumper cables. It connects to the positive terminal of both car batteries.
- Positive Terminal: Marked with a “+” sign and typically red, this terminal is where you attach the red cable.
- Negative Terminal: Marked with a “-” sign, the black cable connects here on the working battery and grounds on the metal surface of the dead car.
Common Mistakes to Avoid When Using Jumper Cables
- Always double-check that the red cable is connected to the positive terminal and the black cable to the negative or ground.
- Crossing them can lead to sparks, short circuits, or battery damage.
- Never let the clamps touch while the cables are connected.
- Always ground the black cable on the engine block of the dead car to avoid electrical issues.
- Don’t attempt to jump-start a frozen battery. Inspect the battery first, as a frozen battery can explode when jump-started.
- If your battery shows severe corrosion, clean it before attaching the cables.
Stay Safe and Learn How to Use Jumper Cables
Learning how to use jumper cables is an essential skill for winter emergencies. Combine this knowledge with proper battery care and preparation to stay ahead of cold-weather breakdowns. Don’t wait for a dead battery to remind you of the importance of being prepared. Equip your car with the tools and knowledge needed to face any winter challenge.
For those in the area, contact HEART Auto Care for expert car maintenance and auto repair services. If you need personalized assistance, visit their Contact Us page for reliable support.


